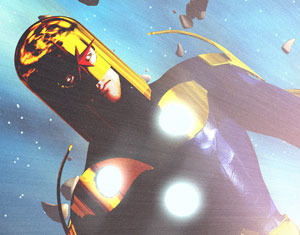
I’ve been doing some 3D work lately, and I decided to share some of my latest stuff here on the site. Many of the following images feature the Marvel Comics character Nova -one of my favorite sci-fi heroes.
THE MAN CALLED NOVA
Just who is this guy, anyway? And why would I spend my time creating fan art of him?
Nova is Richard Rider, a member of an intergalactic peacekeeping force called the Nova Corps. The Corps is created by a benevolent and powerful civilization known as the Xandarians. The concept is very similar to DC Comic’s Green Lantern Corps.
Nova had been kind of a third-string character for years, and I didn’t give him much thought, until a few years ago when Marvel decided to revamp their sci-fi properties with an event called Annihilation.
In this story, our universe faced a massive incursion from a rabid and powerful force straight out of an anti-matter universe called The Negative Zone. The force was led by the ruler of that universe, named Annihilus (a scary character who usually plagued the Fantastic Four), and his army was known as the Annihilation Wave.
In their first strike, the Annihilation Wave wipes out the entire Nova Corps – all except Richard Rider. Once a member of a group thousands strong, he’s all alone and forced to confront the Annihilation Wave by himself with whatever allies he can find.
Even worse, in order to save the last remnants of Xandarian knowledge and culture, he has no choice but to absorb the totality of the Xandarian Worldmind and the entire Nova Force into his own body. Power that should be distributed to thousands now rests solely with him.
Richard knows this has been done before, and it’s left those who tried it insane and physically ruined, but the situation is so desperate there’s no other way.
POST ANNIHILATION
The Annihilation story was frankly, awesome, and a much needed burst of good sci-fi in the mainstream comics medium (I’ve had my problems with Green Lantern for years, so I don’t keep up with it anymore). Every “cosmic” character Marvel had was dragged into it and came out fundamentally changed on the other side. But I guess war will do that…
With Nova transformed from a third-string also-ran to a major A-list character, the stories just kept getting better and better. I didn’t miss an issue, and I picked up anything else he showed up in, including his “companion” title Guardians of the Galaxy. I even bought the truly awful Secret Avengers title just because he was in it.
However, I guess others didn’t see it the same way. Nova was cancelled a couple of years ago along with the rest of the sci-fi cosmic titles that had sprung up around the Annihilation event.
I don’t have any insight into these things, but I can only assume that the Nova comics weren’t selling and people weren’t interested. I’m sure if they were making money there’s no way they would cancel it.
Bah! This stuff doesn’t get to me the way it used to, but I miss that comic. I hope he’ll have a return to a solo book sometime soon but I won’t hold my breath.
FINALLY FINISHED
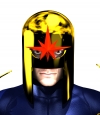
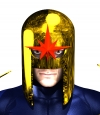
Anyway, on with the show! Some of you guys may remember the 3D Nova Helmet from my Unfinished Business post a while back.
Well, the whole point of making the Nova helmet was to eventually make the whole character and create some cool art.
I ran across the old files when I was clearing some hard drive space and I decided to just take some time and finish the character like I always wanted to.
3D TRIPLE THREAT
My main hurdles with finishing this project were as such:
- Modeling all the pieces of the costume in Blender
- Creating the figure in Daz Studio
- Rendering the image convincingly from Daz Studio
MODELING:
So I decided to just knock out these issues one by one, starting with my favorite modeling program Blender.
If you look at Nova’s costume, it’s fairly complex and has a lot of pieces. This was a bit daunting at first, but the best part of doing this in 3D is that I only had to make each piece one time. If it was one of a pair I could simply duplicate it.
The bad part of modeling these pieces in 3D is that there’s no wiggle-room when things are out of proportion or off-scale. If I were drawing it, I could just make the pieces fit even if they normally wouldn’t, but I control what comes out of my pencil.
When you’re trying to make a 3-dimensional representation of something on the human body you run out of tricks fast –it just has to fit correctly. To that end I made a bunch of example renders of the Michael 4 model that was going to end up wearing all the stuff, and loaded them into Blender as a background image.
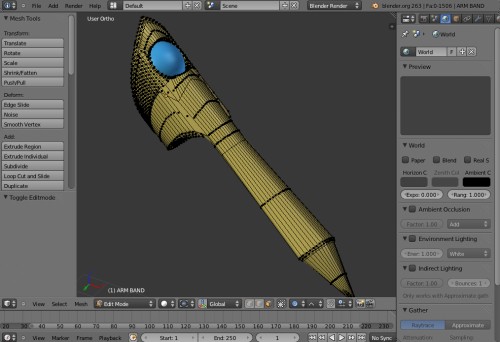
From here I modeled the pieces so they matched the proportions of the 3D figure correctly. For the most part, everything ended up fitting ok when I imported it into Daz Studio.
I didn’t bother making any real finished renders of the pieces in Blender since the final render would come out of Daz Studio. So at this point I had to move all my props over to Daz.
NORMAL MOVING PAIN
Moving objects from Blender to Daz is a straightforward process but it can have some hiccups. First, I export my object from Blender as a “neutral” format like Wavefront .obj. This usually works fine, but there can be issues.
For one thing, there’s still a tendency for Daz to reverse the normals when importing objects in. “Normals” are the surfaces of the 3D objects, where light is actually bouncing off the object. If you import your model and it only renders as solid black then you know the normals have been reversed. No light is hitting them so it comes out black.
The way around this is to reverse the normals yourself in Blender before you export. Then Daz will reverse them again and they’ll be right-side-out the way they should be.
Another problem is the scaling issue. Many times the units of measurement do not match up precisely between programs. Blender uses units that are actually called “Blender Units”. Daz doesn’t always exactly know what to make of these, so it gives you an opportunity to set your scale at import time.
Usually any guess I make is wrong, so I just import at 100%, then scale it myself to the size it should be. At this point I take note of the scale percentage, then I’ll delete the object and re-import it using the percentage I just set the previous object to. I don’t know if this helps any, but I like to think it’s one less thing the program has to keep track of.
CREATING THE FIGURE:
Now that I had the pieces of the costume set, I actually had to make the Michael 4 model look more like Nova. This was mostly easy but there were some minor annoyances that popped up.
First thing, getting the suit together was easy, since all I had to do was use the M4 Bodysuit. Using this and some hi-res textures I bought for it had me halfway there in a jiffy.
I managed to approximate his boots by using the M4 Treadz, changing the colors and texture to match the bodysuit and hiding the laces and straps.
The thing that almost derailed the whole project was the lack of a good pair of gloves for the character. Of all the 3D crap I’ve bought over the years, apparently I never saw fit to buy some gloves! Well, I wasn’t willing to pony up any cash at this point, so my only option was to just remove the skin texture from the hands and texture them exactly like the bodysuit.
This mostly works, but the only thing I couldn’t do was get the indent of the fingernails out of the model’s hands. I figured if it showed up too prominently I would just clone them out in Photoshop.
After this the only piece I needed was an actual belt. I never made the full belt in Blender, only his giant belt buckle thingy. I knew I had plenty of belts in my stash o’ 3D crap. I loaded one onto the figure and changed it’s texture settings to match the other gold pieces. It worked good enough for me.
The last minor hiccup I had was that the helmet didn’t fit as perfectly as I would have liked. Right now it’s just a little bit too long I think, and I had to hide the figure’s ears to stop them from poking out. I’ll probably go back and shorten the helmet before my next round of Nova images.
ASTEROIDS!
I’ll only get into the specifics of this one piece. I wanted to make an image showing Nova out in the vastness of space all alone, maybe in an asteroid field.
I remembered a tutorial last year from Blender Guru on how to model a realistic asteroid, so I looked it up and got to work. Following the video, it didn’t take me long at all to come up with a great looking asteroid – however – unlike the Blender Guru, I was going to be using these props in Daz Studio.
The problem I faced was that the tutorial showed you how to essentially “fake” the look of an asteroid, while really only using a low-poly mesh that wouldn’t be too complex. This is fine if you remain in Blender, but when I moved the objects into Daz, they have to be “real”, meaning the entire mesh has to exist, not just an approximation.
The tutorial showed some great methods for creating a huge field of asteroids, too. Again they were not “real” items, but generated copies that didn’t really exist. Blender didn’t have to deal with all the real geometry, but Daz would. I was worried about bringing an entire asteroid field into Daz thinking that it might crash my computer at render time.
I gave it a go anyway. In Blender, you can “apply” the fake filters to an object and make it into a real mesh. A similar procedure for 2D artists is when you’re in Adobe Illustrator and you set a 3D or Warp effect to your objects. It isn’t “real” yet, but if you decide to “Expand” the object then the Warp or 3D effect is applied and the shape becomes real.
So with that done, I was able to import the entire field as one object into Daz. Luckily it didn’t impact the performance of my computer as much as I had feared. I was more afraid of the rendering, and trying to bounce all that light around using raytracing. Because of this I left the small rocks basically undetailed except for adding the color to them. This turned out to be a mistake in my opinion.
The final piece was quite large, and I was working small on my monitor at the time. When I blew it up larger on my screen during the Photoshop stage, I was distracted by the relatively smooth small rocks when compared with the craggy, detailed larger objects.
Again, I had to consider the cost of adding a lot of detail to that many small pieces of mesh. I suspect my computer would balk at rendering all that, so for now I decided to leave it alone. I might return to it later and just see what happens if I either try to detail all those rocks in Blender or maybe add a bump map (fake it) to the whole mesh in Daz.
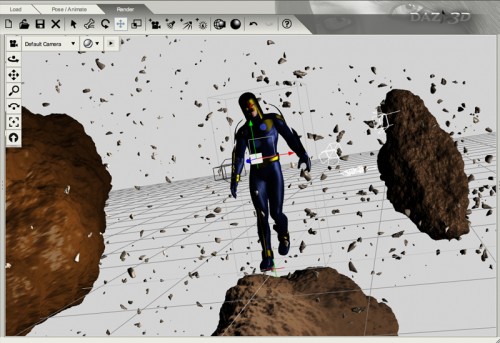
So once I had all the pieces in place all that was left of the 3D portion was the rendering!
RENDERING FROM DAZ STUDIO:
I was concerned about getting the look that I wanted out of Daz Studio. In my opinion, Blender’s rendering is of superior quality than Daz, especially since you can choose different rendering engines than the standard Blender internal, such as the new Cycles Render Engine. Of course, I’m using the free version of Daz, it’s possible the commercial advanced version has better rendering capabilities.
NOTE: I just checked and the “Pro” version of Daz 4 is FREE for a limited time! Yes! Go get it now, it couldn’t hurt.
Specifically, I was worried about the metal on the gold costume pieces. I’ve begun to have success with metals in Blender, but I usually had issues getting similar quality results out of Daz. Well I decided to do some homework and it paid off. I ended up using a reflection map on the gold, instead of trying to use the raytracing like I would in Blender.
If you use raytracing and set your objects to reflect, then you’ll have to actually have items in your scene to be reflected. It can be a chore, and add a ton of time to your render if that light keeps bouncing around. Luckily you can set the maximum number of bounces for the light if you need to. Too many bounces will really hit your computer hard since it has to keep up with all those calculations.
So instead of that, I faked it using a reflection map. This is where I load a grayscale image right onto the object and the program makes it look as if that image is being distorted and reflected. Apparently “horizon” images work best, where you have the sky meeting the ground or the water. I’ve collected a ton of pictures like this over the years so it was no problem for me to grab a few to try out.
They almost worked exactly as planned. I’ll probably try a few more out to see if I can get closer to what I really want, but they looked ok for now. Check the below images for an example:
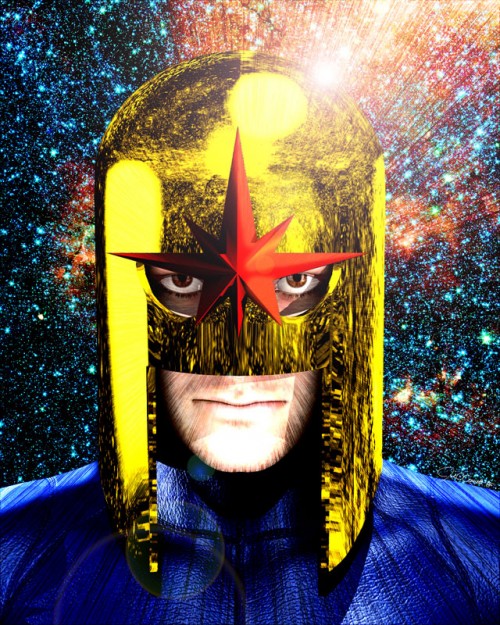
In the image above, I used a Nasa space background that I converted to black and white in Photoshop. The image itself can be seen below:
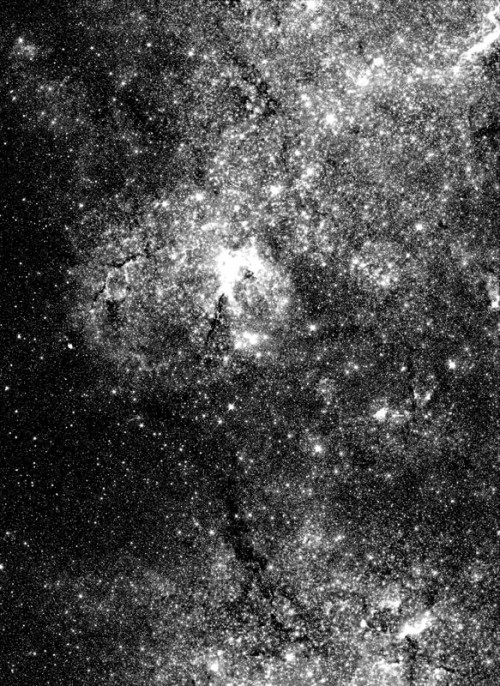
Here are two more images I used as reflection maps in the Nova pieces a bit more successfully:
Now with that part done, it was time to pose up the figures and do some rendering. Normally my workflow with Daz Studio would call for cartoon rendering like I used with my Commander Series comic. Those renders would be finished in a very short amount of time, so I never had to wait.
But these renders would be done in the normal rendering style. On top of that I made these files fairly large, so a couple of my renders ended up taking up to an hour to complete, even though there was rarely anything in the background.
Once those got done, I was really done with the hard part, and I was able to jump over into Photoshop where things are a lot easier for me. Whew!
BLENDER GOLD…
Here’s a few shots of some of the separate pieces that had to be made in Blender in order to add them to the scene in Daz Studio. I took screenshots of the pieces in the regular “object” mode and also in the “edit” mode where you can see all the underlying structure of the mesh items. I also threw in a couple of shots of the working scene in Daz Studio.
THE RENDER RUNNER-UPS
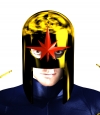
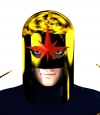
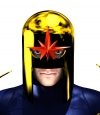
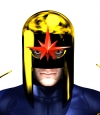
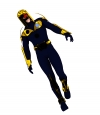
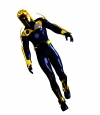
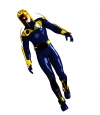
When I’m making these 3D images, I do a ton of test renders to see how the lighting/materials, etc. are coming out. These are usually very small renders, just big enough for me to see. I thought I’d throw these in here for posterity. Some are radically different, while others only have minor changes between them.
FINAL ARTWORK
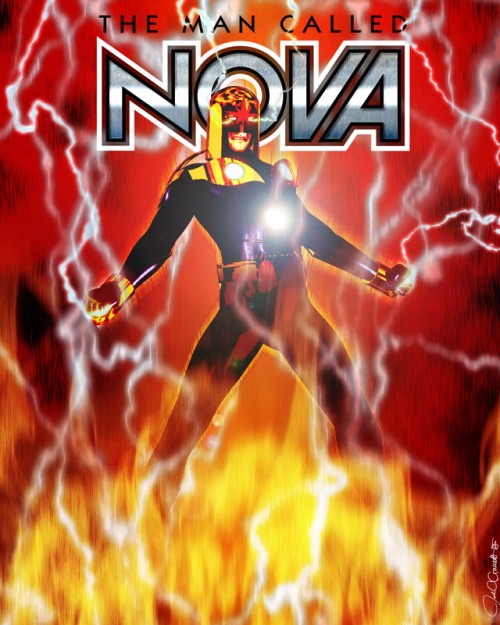
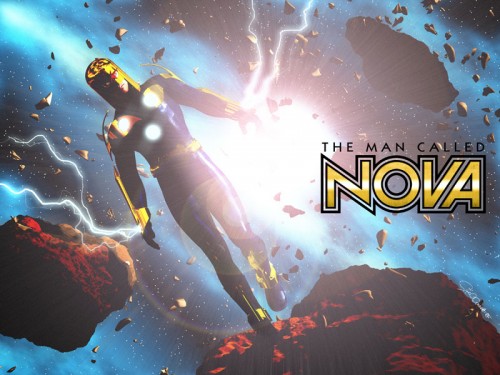
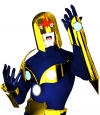
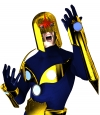
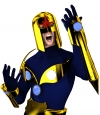
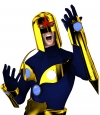
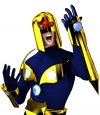
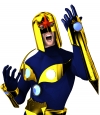
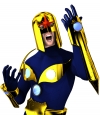
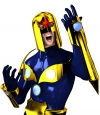
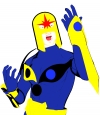
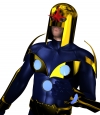
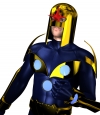
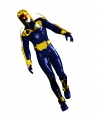
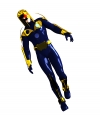
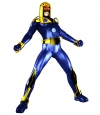
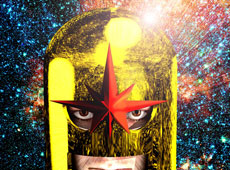
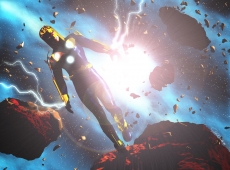
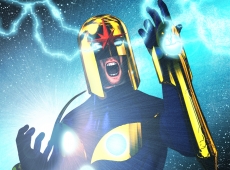
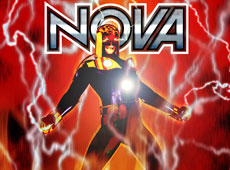
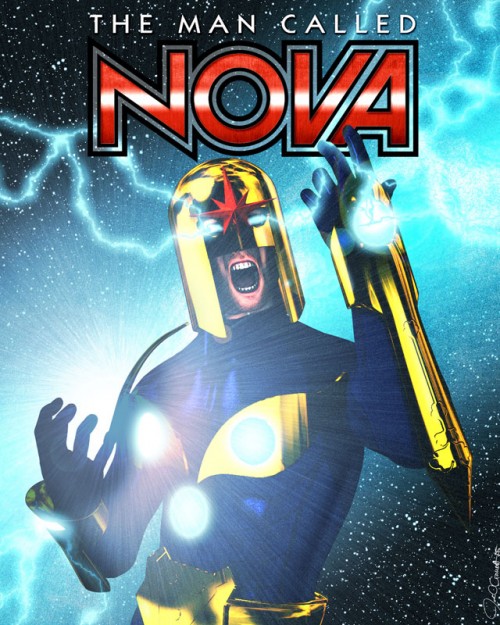
These are the final 5 pieces I came up with. I couldn’t decide whether to go with the logo or not so I showed both here. Some of them the logo really balances the piece, and in others I think it could go either way. Just in case anyone is wondering, I re-created the Nova logo using Adobe Illustrator.
THE WRAP UP
Since I don’t own this character, I can’t really sell any prints of this stuff, but I can give it away (I think)!
For anyone interested, you can download the large files at this link:
http://dl.dropbox.com/u/27063394/Nova-Large-files.zip
This is a Dropbox link, and it’s the first time I’m providing files this way so let me know if you encounter any problems getting them. For you Super-Nova fans out there you could probably make a poster or something out of these, but I could be wrong…
Anyway, that’s all I’ve got for this episode, so I’ll catch you guys later. Peace!

















My goodness! I love the tale of this guy that you gave, but I have to admit that I’m lost in all the technical stuff afterwards; heck, Mitch does that to me as well. lol Hey, maybe you can contact the company and ask them if you can do some stuff regarding the character; they can only say no right?
Hey Mitch! Yeah that’s why I started with the actual story lol. I was gonna lead with the technical and then present the finished work at the end but I figured everyone but the most hardcore would bail by then.
I wish I could contact Marvel about writing Nova. These days from what I understand they don’t really want to hear from you unless you’re a screenwriter, or unless you’re already published and moderately successful somewhere else outside the genre.
I don’t really agree with this, to me good ideas are good ideas no matter where they come from, but I guess they’re trying to cut down on all the submissions they get, which I can understand.
You’re one great artist! Frankly speaking, I don’t really know him, but I really admire the way you have illustrated the character and given him a new life. You’ve got an awesome talent there bud. Keep it up!
Thanks Cynthia! I appreciate that you read it and appreciate the compliment!
This is the second time I’ve been to your site. Thank you for providing more details.
Thanks for stopping by and commenting, Stormy!
No wonder all of your niches is on the top! You are such a great artist! Congratulations!
Hey Mika! Thanks for dropping in as usual and thanks for the compliment, my friend!
No problem my friend. I hope to see more like this. Have a nice day!
That is really amazing! I have also made some stuff like this, but I use the 3DsMax character designer for that. I have heard so much about Blender’s benefits, I think I should give it a try. Great job by the way!
Hi Adina, I always wanted to check out 3DS Max but I was never willing to make the initial investment. Also, it doesn’t have a Mac version so that is out lol.
If you already know 3DS Max then you probably don’t need to check out Blender, as you’re already working with an industry standard. I wish Blender had some sort of built-in character creator, tho.
Anyway thanks for reading and commenting!
Great job as always! I’m not an expert in 3d art but how do you explain the creative process seems quite simple. Maybe download the demo version of Daz4 and I see what I can do … Thanks for the inspiration!
You’re welcome, glad to have inspired you. If you download that Daz and whip something up make sure to let me check it out!
That was quite an exhaustive insight. Thanks for the inside look.
My biggest beef with 3D rendering is that it can quickly look lifeless. You’ve not only avoided that trapping with your Nova pics, but he almost looks traditionally drawn. Well done!
Hi David, thanks for checking this out and thanks for the compliment.
I agree 100% with the “lifeless” issue. I try to overcome that with every piece I do. I don’t always succeed but I’m getting better. Thanks for commenting!
This is so awesome! Beautiful work. I love the Centurion Nova Prime! I’ve been a fan of Richie for a long time. I even play him in Ultimate Marvel vs Capcom 3. You are one heck of an artist JG
Thanks, Ed!
I’ve gotta play some of that Marvel vs. Capcom but I’m afraid of it eating up even more of my already limited time!
Hi! I LOVE Nova! Ive been looking forever for 3d files of Nova so that I can turn his uniform into life size props. Your files are awesome!
Is there any way I can get maybe just the armor and helmet files for this? Or do you know somewhere else that I can a model of Nova?
I dont blame you if you dont share models, but any help I can get is great!
Thanks!
-Jon
Hi Jon,
I don’t have any problem sharing the models, besides embarrassment that is. I’m not the greatest modeler in the world, so I’m not sure how much my relatively simple creations will help.
If you use Blender I can give you the .blend files, or I can export to either Collada or obj. I’ll shoot you an email using the one you left with your comment.
And thanks for viewing and commenting!
That would be great! I did find a couple pieces of his armor, but it looks like you have all of them that I would need! Its basically going to end up being a fiberglass or plastic helmet and eva foam for the armor over some sort of body suit.
I post most of my own files I make for this type of work at 405th.com. And of course I have posted some of my Halo armor work there as well.
Nova is THE MAN! I never understood why he didnt get insanely popular… I mean hes like Superman… but sooo much better!
Anyway, thanks a ton! Id love to get started on this!
-Jon
No problem, Jon – just make sure to shoot that link over this way when you get it done so I can post it up here. Peace!
I’m now a fan of your work! Thumbs up for your graphic/designing skills! Keep it up!
Thanks Monica, I appreciate it!
That is really amazing! I have also made some stuff like this, but I use the 3DsMax character designer for that. I have heard so much about Blender’s benefits, I think I should give it a try. Great job.
God Damn That Looks F***ing Awesome! XD
Great Job!
Hey thanks man! It took a lot of work so I’m glad you liked it!
Nice post, besides, I like your vision.
This is so incredible ! You are a real artist. I would love to get started on it but I’m not as talented as you are. Keep it up !